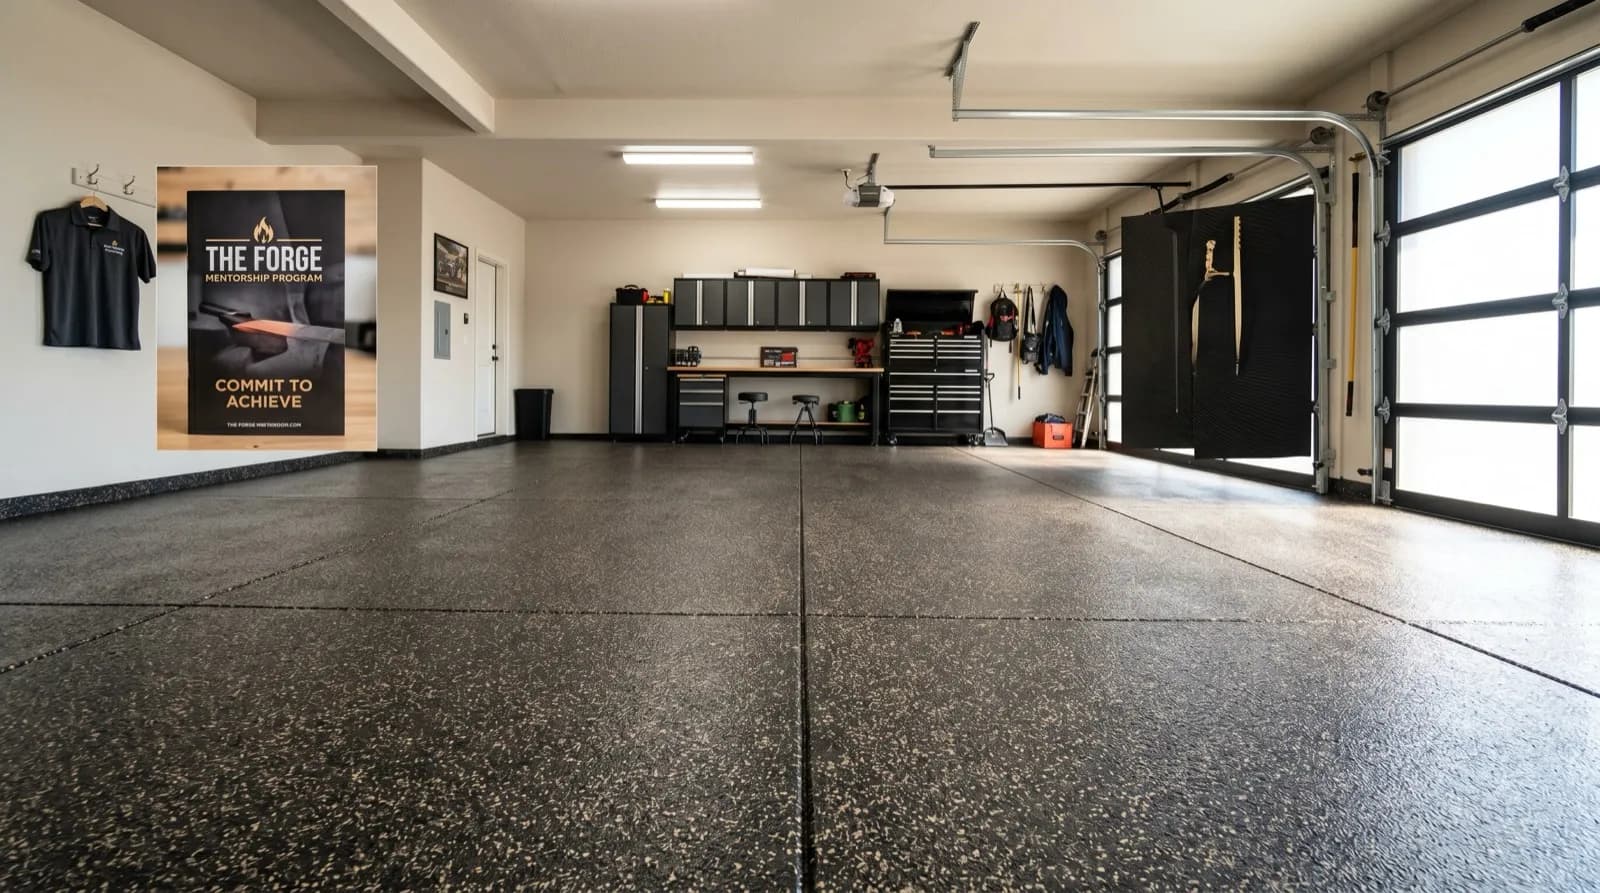
The single biggest reason DIY garage epoxy kits fail in Rapid City is prep. The resin chemistry is fine. The roller is fine. What sinks the floor is acid etching, skipped crack repair, and an untested slab. Here is exactly what a professional install does differently and why those steps matter on a Black Hills concrete pad.
The 18-month rule
About one in four jobs we quote in Rapid City is a tear-out of a failed big box kit. The pattern is so consistent we can predict the failure modes before we step into the garage: peeling at the apron where snow melt pools, hot tire pickup near the parking spots, salt blistering at the door threshold, and yellowing on the south wall where the sun hits the slab through the open garage door.
In almost every case, the underlying coating is technically a real epoxy. It is just that the slab was never properly profiled, the cracks were never structurally repaired, and the moisture content was never tested. Eighteen months in, the freeze-thaw cycle finishes the job.
The four prep steps that decide everything
1. Diamond grinding to a CSP-3 profile
The International Concrete Repair Institute publishes a scale called Concrete Surface Profile, or CSP, running from 1 (smoothest) to 9 (roughest). Resin coatings need somewhere between CSP-2 and CSP-5 to mechanically bond. Most resin manufacturers specify CSP-3 for residential epoxy and polyaspartic systems.
You cannot reach CSP-3 with acid etching. Acid etching does not actually profile concrete; it just opens up the cement paste and exposes the aggregate. The numerical surface texture is closer to CSP-1, which is why coatings over acid-etched slabs peel within two years. We diamond grind every slab with counter-rotating planetary grinders fitted with metal-bond diamond tooling, then HEPA-vacuum the dust before any resin touches the floor.
2. Structural crack and pit repair
Every Rapid City slab over five years old has cracks. Sometimes they are visible hairlines. Sometimes they are micro-fractures hiding under the surface. The freeze-thaw cycle finds them all. If you coat over a crack without repair, the crack telegraphs through your topcoat within the first winter.
Real crack repair is a three-step process:
- Mechanically rout out the crack with a diamond blade to expose sound concrete and create a keyway.
- Vacuum out the routed channel so no dust contaminates the bond.
- Fill with polyurea or epoxy mortar that cures harder than the surrounding concrete.
We do that on every job. DIY kits do not include the routing tool, the polyurea filler, or the time it takes to do this right. They include a tube of "concrete patch" that is roughly the consistency of caulk, which has zero structural value once the slab moves.
3. Moisture testing
Roughly one in five Rapid City garage slabs has a moisture issue. Sometimes it is a high water table near Rapid Creek. Sometimes it is poor original drainage that funnels snow melt under the slab. Sometimes it is hydrostatic pressure from the soil itself. None of those are visible. All of them will destroy a coating from below within 18 months if you do not mitigate them.
We run a calcium chloride moisture test on every slab before we quote. If the slab moves more than 3 lbs of moisture per 1,000 square feet per 24 hours, we install a moisture-mitigating primer. If it does not, we go straight to the base coat. Either way, we know what we are working with before resin hits the floor.
4. Filling the control joints
Control joints are the saw-cut lines you see running across most garage floors. They exist to give the slab a planned place to crack when it moves. Coating over an open control joint means the joint telegraphs through your floor and collects salt, dust, and water within the first month.
We fill control joints full-depth with semi-rigid polyurea joint filler. It stays flexible enough to allow normal slab movement but rigid enough to support the coating across the joint without telegraphing. This is one of those steps that takes ten minutes per joint and is completely missing from every consumer kit on the market.
What a 20-year prep workflow actually looks like
Here is the actual sequence we run on a typical 2-car Rapid City garage:
- Moisture test at multiple points across the slab. Photographed and documented.
- HEPA-extracted diamond grind to CSP-3 across the full slab. Edges and corners hand-ground.
- Crack inspection under raking light. Every crack and pit photographed and routed.
- Polyurea crack repair flush with the slab surface.
- Control joint fill with semi-rigid polyurea, full depth.
- Spall and corner rebuild with hand-troweled polyurea repair compound where needed.
- Moisture-mitigating primer if the slab tested high. Otherwise straight to base coat.
- Base coat resin rolled at 15 mils.
That is 7 hours of work before a single ounce of finish coat goes down. It is also the difference between a 3-year floor and a 15-year floor.
Why this matters more in Rapid City than almost anywhere else
The Black Hills climate is brutal on concrete. We see 120 freeze-thaw days per year, calcium chloride de-icer on every major street, hailstorms that pit unprotected slabs, and -20°F windchills that drive moisture deep into the concrete and then re-expand it on the way out. A slab here moves more, cracks more, and absorbs more salt than a slab in almost any other US city.
That is also why we recommend polyaspartic over standard epoxy for cold-weather installs. The resin chemistry matters. The prep matters more.
The honest cost comparison
A typical DIY big box garage epoxy kit runs $250 to $400 in materials. A failed installation costs roughly $500 to $1,200 to grind out before a new floor can go down. Add the cost of the second coating system on top.
A professional garage epoxy install on a 2-car Rapid City garage runs $1,800 to $3,500, all-in, with a 10-year adhesion warranty. The math is not subtle.
Get a free quote
We do not charge for on-site quotes. We do not pressure-sell. We measure your slab, photograph any damage, run the moisture test, and deliver a flat written quote within 24 hours. If the prep work needs to be aggressive, we will tell you. If the slab is in good shape and the install is straightforward, we will tell you that too.
Call (605) 555-0100 or request a quote online.